
Clean Your Oven for a Fresh and Grease-Free Kitchen Tips
Still see clutter in your kitchen even after cleaning each spot by hand, while dust vanishes from shelves and counters? That thick buildup hiding inside your oven tends to escape as smoke, smothering the clean scent in the space. Months of roasting and baking pile on layers most find too stubborn to face regularly. Week after week of heavy cooking leaves marks. Still, a steady routine using basic steps brings back shine without dragging through hours of effort.
1. Every Kitchen Needs Oven Cleaning
As accumulated fat reaches a high temperature, it produces smoke, and this transforms normal dinners into smoke-filled fun nights. Long after the meal ends, sharp scents linger thanks to leftover bits burning again and again. Over time, wiping things down means fewer surprises with how well the machine functions. Kitchen air feels different when there is less grime hiding in corners and seams. Meals start on smoother ground if surfaces stay clear of old spills and residue. How long an appliance lasts often ties back to small efforts made routinely. Appearance shifts subtly once hidden layers are finally removed. Daily routines gain quite a few benefits when one part runs cleanly amid the clutter of home life.
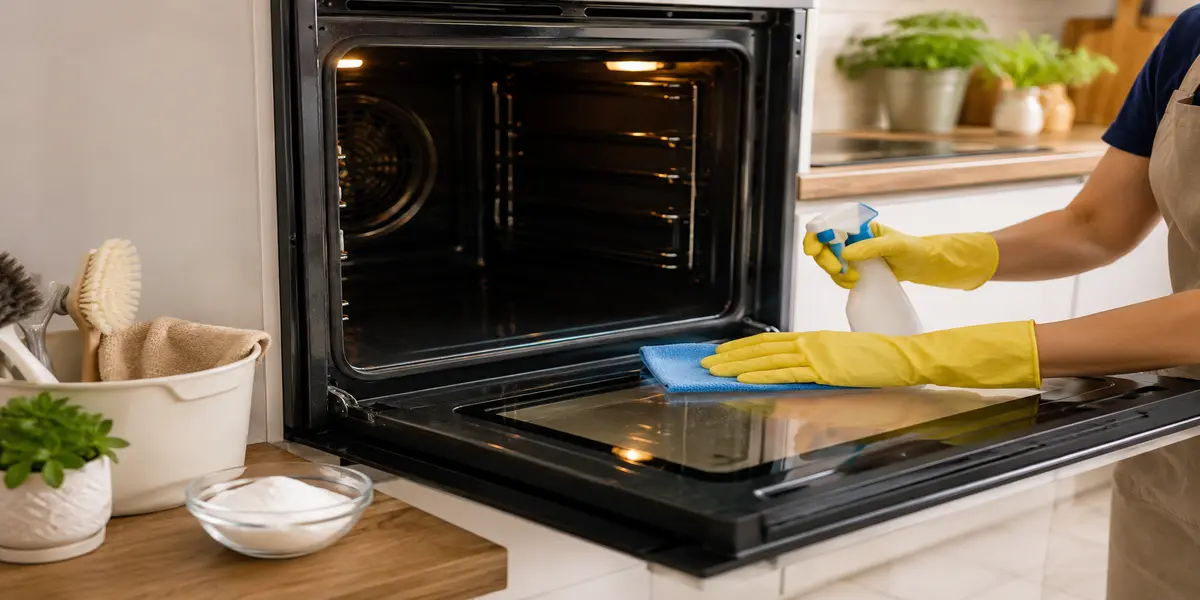
2. Gather the Right Cleaning Supplies First
Start by gathering every cleaning item you’ll use. In this way, things will be smoother in the following session. Warm water and gloves to protect your hands should be prepared. Baking soda is a great thing to use in combination with soft cloths for cleaning wipes. Vinegar cleans dirt and grime as well as a hard scrubber. An effective oven cleaner, whatever works best nearby, is essential too.
For kitchens with heavy grease buildup, a deep bond clean can make the cleaning process much easier before tackling stubborn oven stains. Choosing the right tools avoids scratches on surfaces. It also breaks down thick grease faster, so less elbow effort is needed. Without prep, pauses happen often, slowing everything down. Once the job starts inside the oven, staying focused matters most.
3. Take Out Oven Racks and Loose Debris
Open the oven slowly, removing each rack one at a time. Cleaning them apart helps reach spots where grime hides easily. Drop any loose bits straight into the trash. If left behind, they scatter fast and turn messy when dampened next. Lay the racks in a tub of warm water mixed with soap. This bath breaks down thick gunk and lifts charred scraps clinging to corners and edges. Less elbow grease is needed afterward, simply due to how much comes free on its own before you even start brushing.
4. Make a Natural Cleaning Paste at Home
Most folks find a mix made at home does fine for routine cleanup since stuff from the pantry cuts through oily buildup, but won’t fill rooms with harsh fumes later. Baking soda gets stirred into just a bit of water, go slow, till it turns into something spreadable, like damp sand. This goo goes on wherever grime gathers, though steer clear of wires or touchy spots tucked within the appliance. Overnight sits make sense. Resting longer means dried gunk softens, no scrubbing needed just yet. Mess loosens on its own, quietly breaking down while time does the work.
5. Remove grease and burnt mess
When morning light hits, clean the inside of the oven using a damp cloth. This lifts off crusty paste and softened grime. Start by tapping the surface when grime won’t lift. Weeks of cooking have left a stubborn film stuck in each nook. Hit it with vinegar once you’ve dusted on baking soda, then walk away. The bubbles that follow tease out what’s embedded. Work section by section, never rushing, till stains vanish like fog in sunlight. Shine returns slow but sure, revealing walls once dull now clear, fresh, awake.
6. Clean Oven Racks for Better Results
Oven racks collect grease quickly because food spills and smoke settle continuously around metal bars during everyday cooking and baking activities. Soak, then brush the racks lightly with a sponge or soft brush, as abrasive utensils may permanently scratch the protective metal finishes. Dry each rack thoroughly after rinsing them all thoroughly with clean water, as retained moisture promotes smells and rusting of the racks later on. Clean racks improve oven appearance immediately while helping trays slide smoothly during future cooking and baking tasks inside kitchens.
7. Use the Best Oven Cleaner for Tough Stains
Hardened grease won’t budge with just vinegar or baking soda when it has baked on over many seasons. A best oven cleaner steps in where DIY mixes fall short, cutting grime so hands stay out of harsh scrubbing marathons week after week. Read every label line before starting. Mistakes can scar enamel finishes or fill a compact room with sharp vapours that sting the throat. Good ventilation is important. Air vents were designed to prevent fumes from building up by venting them outside after the work is done
8. Don’t Forget the Oven Door and the Glass
Most folks ignore the oven door, yet grimy glass drags down the whole kitchen’s look plus hides what sizzles inside each time you cook. Slather on a thick layer of cleanser since oils and smudges pile up fast where hands touch weekly. Wait just a few minutes prior to rubbing it off gently, loose grime lifts easier that way without marring the surface or ghosting later. Shine returns immediately once done, lifting the room’s vibe along with the machine itself, feeling fresh, cared for, ready like clockwork.
9. Clean Around the Oven for a Complete Fresh Look
Most spills sneak beyond the oven walls, settling on spots people forget too fast. Nearby zones gather grime just as quickly as grease leaps onto cabinet fronts when frying eggs or roasting meals. Countertops collect smudges from hands that touched pans mid-task. Door knobs turn sticky without anyone noticing day by day. Floors hold tiny bits crushed under shoes after dinner prep chaos. Those unnoticed specks bring bugs searching overnight if left unattended. Mopping up near appliances cuts down long-term messes before they grow worse. Clean spaces reflect light better, changing how rooms seem each morning. Tasks feel lighter where clutter and stains vanish slowly through care.
10. Have a clean oven with simple habits
When it’s still warm, clean the oven. This keeps sticky spills from turning into stubborn gunk. Even small leaks vanish quickly when fresh. Wait too long, though, and the heat bakes them solid. Rushing won’t help anything. Much later, during regular kitchen trips, just touch up spots here and there with a slightly wet rag once everything is cold. Spills happen, but sit on them long enough,
and you’ve got a thicker layer every time you cook. A moment now prevents choking fumes later during roasting or broiling cycles. Over months, tiny actions pile up into far fewer deep scrubs. The smell stays neutral, not burnt. Surfaces respond better to light care than aggressive scraping. Daily effort? Minimal. Results add up without shouting about success.
Conclusion
After the oven cools, wiping it might seem odd, yet most skip this step. Still, that quick pass reduces gunk buildup later. Spotless surfaces aren’t just about looks, they also matter to safety. Learning how to clean oven keeps things under control. A clean oven looks even better near spotless windows see how to clean window tracks using bunnings supplies? for extra kitchen care. Instead of trying to clean all that in a couple of weeks, scoop up those drips with a damp cloth as things cool. Spills happen, but they’re thicker layers if you don’t clean them up after each session of cooking. Over months, tiny actions pile up into far fewer deep scrubs.